
Prepare static LINE sticker sets with KrobClick and export a ZIP
When sticker poses need different placements, one setting for the whole set is often insufficient. Studio lets you edit each slot, see canvas boundaries, and resume after reloading without sending images out of the browser.
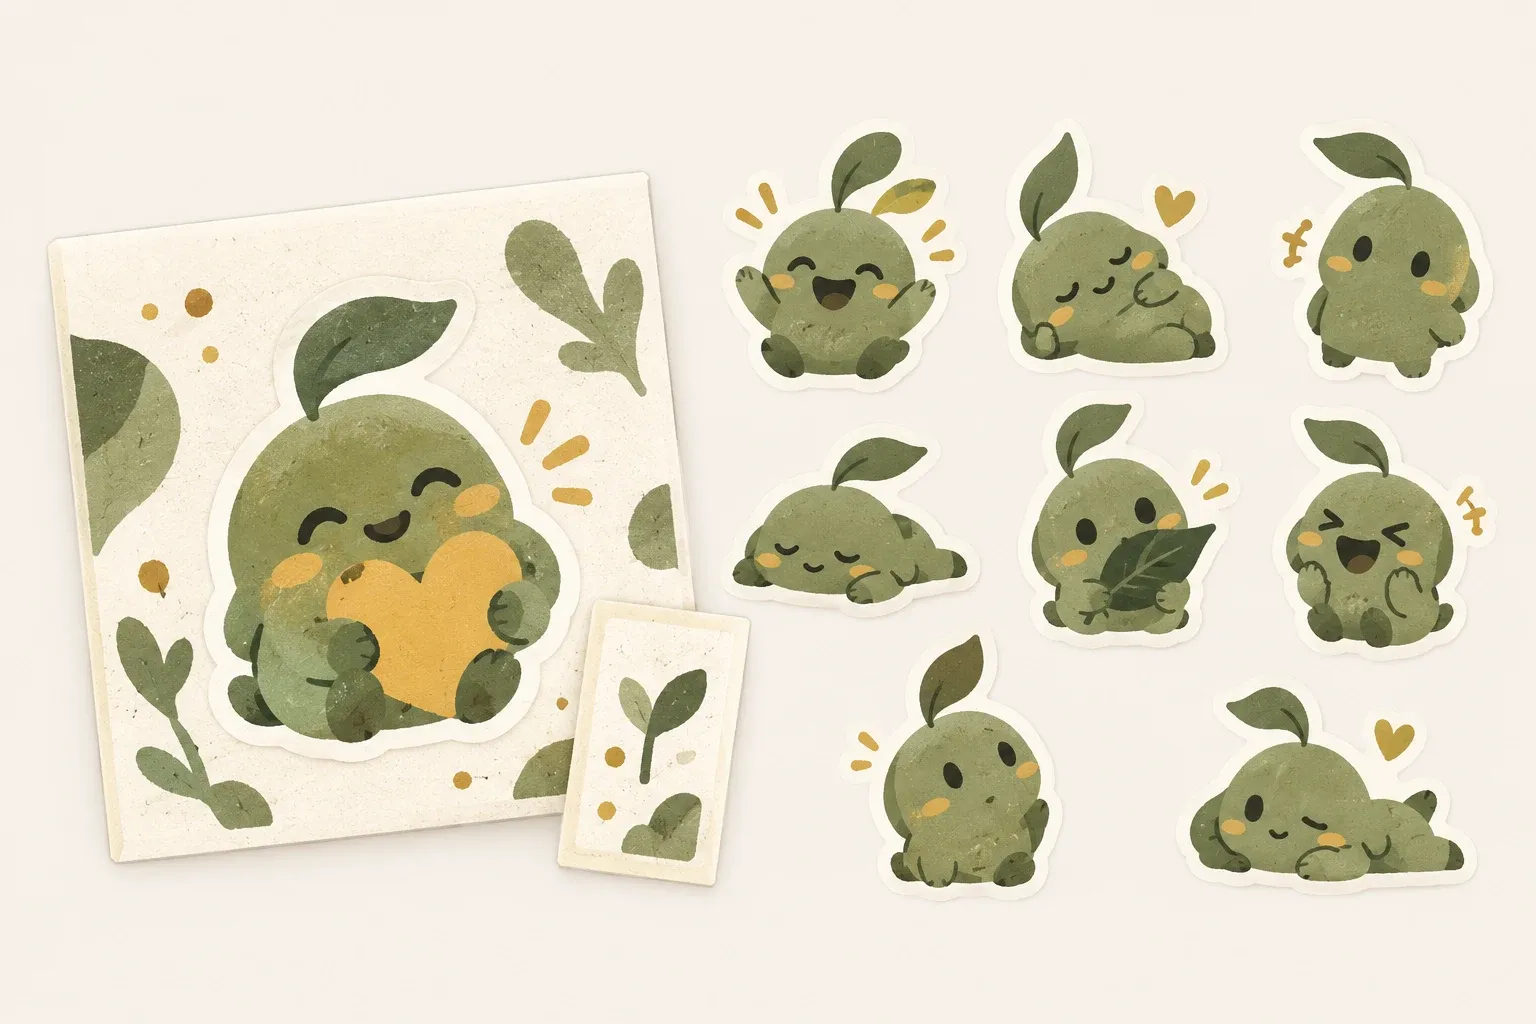
Choose the Studio for your sticker type
This guide covers static stickers. For animated stickers, read LINE Animated Sticker Studio guide for steps on adding images, arranging frames, setting playback timing, choosing main and tab images, and checking APNG ZIPs. Each Studio saves its own projects and does not automatically animate a static set.
Start with the number of slots in the sticker set
LINE requires sets of 8, 16, 24, 32, or 40 static stickers, plus one main image and one chat thumbnail icon. LINE Static Sticker Studio by KrobClick starts with 8 slots. Change the count in the top toolbar. It accepts still PNG, JPEG, and WebP images and does not create APNG or animated stickers.
| Output files | Size | How to create it in the tool |
|---|---|---|
| 01.png onwards | 370 × 320 px | Fit the image proportionally within the canvas, leave a 10 px margin, and position the text |
| main.png | 240 × 240 px | Scaled down from the user-selected sticker slot |
| tab.png | 96 × 74 px | Resized from the slot selected with T; check readability at the smaller size |
LINE requires transparent-background PNGs with even dimensions, up to 1 MB per file and 60 MB per ZIP. The tool enforces 1,000,000 bytes per file and checks actual export size. Sources must each be at most 20 MiB, total at most 60 MiB, and satisfy 20-million-pixel and 8,192-pixel-per-side limits.
Arrange each slot on the canvas
- Choose the sticker count, then click “Add images.” Selected images fill empty slots in order. Add more later if needed.
- Choose a left-side thumbnail to display the actual 370 × 320 px canvas. Drag the image or set X and Y in the right panel.
- Adjust size and rotation in the “Image” tab. Select “Fit to Canvas” to fit the image within the canvas again.
- Open Text and enter up to 4 lines. Adjust size, color, and overall text-group position. Settings are saved separately for the selected slot.
- For a full-canvas color, use “Background for all” at the bottom of the Images tab only. Enable it to show the set-wide color picker and code; disable once to restore transparency throughout while remembering the chosen color.
- With canvas focus, arrow keys move objects 1 px; Shift plus arrows moves them 10 px. Undo and Redo apply to layout and slot-count changes.
Adjust font size with the slider or enter 16–64 px, confirming with Enter or leaving the field. Reset Text Position restores X: 185 and Y: 282 while retaining text, size, and color. Undo reverses the reset.
Zoom changes only the view and persists with work in the same browser profile. Clear project resets it to 100%. Exports remain 370 × 320 px. Overflowing images or text are flagged before ZIP creation rather than silently cropped.
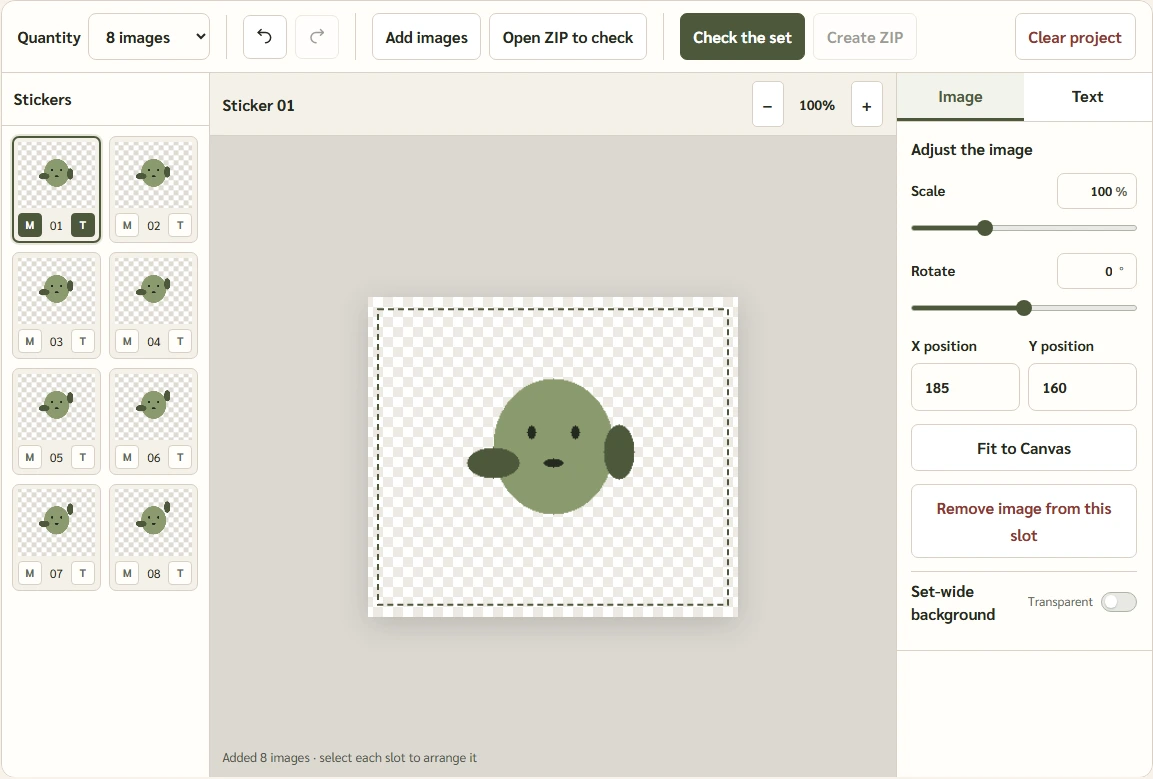
The workspace stays 1152 px wide on every device. On small screens, scroll horizontally inside the frame to reach all panels and controls. For keyboard navigation, focus the frame and use the arrow keys.
Work is saved in this browser.
Studio automatically saves canvases, text, colors, and image copies to IndexedDB. A message above the workspace warns if saving fails. Reload to resume in the same browser profile. Work is not synced to other devices, may be visible to people sharing the profile, and may be removed by browser storage management. Download a ZIP when finished. Use “Clear project” to delete the saved copy.
Choose the main image, check, then create ZIP
Each slot can use an image, text only, or both. A slot without image or text fails validation even with a background color enabled. Whitespace-only text does not count as content. Every slot's text must fit within 4 lines and the canvas.
Drag a thumbnail onto a highlighted destination and drop to reorder. Images, text, and layout move together; M/T selections and the active slot follow the original. Numbers and PNG filenames update. The list scrolls near its top or bottom edge. Reordering supports Undo and persists after reload.
Below each thumbnail, M on the left selects main.png and T on the right selects tab.png. Dark green marks the selected slot. Each type allows one slot, shared or different. Pressing M/T does not change the editing slot and can be undone. Older projects without T initially use the M slot for both.
Choose an image that remains clear at small sizes, then select “Check set” to find empty slots and overflowing objects. “Create ZIP” becomes available after validation. Check again after editing; PNG and ZIP sizes are also checked during export.
“Open ZIP to check” inspects existing sets: filenames from 01.png onward, file counts, main.png, tab.png, image dimensions, PNG type, alpha channel, and file sizes, with thumbnails. Passing does not replace content, rights, or LINE approval checks.
Reopen the downloaded ZIP and pay particular attention to tab.png at 96 × 74 px. Text or thin lines that look clear on the large canvas may disappear when reduced. Check stickers against both light and dark backgrounds to find edge artifacts that the Studio checkerboard may hide.
A transparent canvas does not erase the original background.
A white background in a JPEG remains part of the image when it is placed on a PNG canvas. The tool makes the surrounding canvas transparent; it does not remove the source background. Prepare a background-removed PNG first, then check hair and thin edges at the reduced size. Text readable at 370 × 320 px may be unreadable in the 96 × 74 px icon.
File validation and LINE approval
Creators must check the rights to characters, images, fonts, and text, along with LINE’s content rules. A complete ZIP does not prove that every background is transparent or that you have permission to sell the artwork. Before submitting through LINE Creators Market, check the latest requirements again and keep your original files for later edits.
Source requirements
LINE static sticker requirements and this guide were reviewed on October 24, 2026. The tool prepares files; it does not submit them or guarantee approval.