
Combine images into PDF: choose page size, margins and image quality
Are images too small, blank areas too large or your PDF over the file size limit? Choose the page size and orientation first, then use the comparisons in this guide to adjust margins and image quality.
Start with settings for the document you need
For general printed documents, start with A4, Auto orientation, Small margins and 90% quality, the tool’s defaults. If the recipient specifies a page size or orientation, follow those requirements first.
Each image becomes one PDF page. The tool centers the image and scales it proportionally without cropping. Blank areas can remain when the image and page have different proportions. Smaller margins can enlarge the image, but cannot make every aspect ratio fill a page.
Choose A4, Letter or Fit to image
| Page size | When to choose it | What to check |
|---|---|---|
| A4 | You need to print or the recipient requests A4 | Landscape images may look small on portrait pages |
| Letter | The recipient requests Letter paper | Do not substitute it for A4 when page size is specified |
| Fit to image | Each page should follow its image’s proportions | Pages may differ in size because of both proportions and pixel dimensions |
Auto orientation uses landscape pages for images wider than they are tall, and portrait pages for taller or square images. A mixed set can therefore produce mixed page orientations. Choosing Portrait or Landscape applies that page orientation to all images; it does not rotate the image content itself.
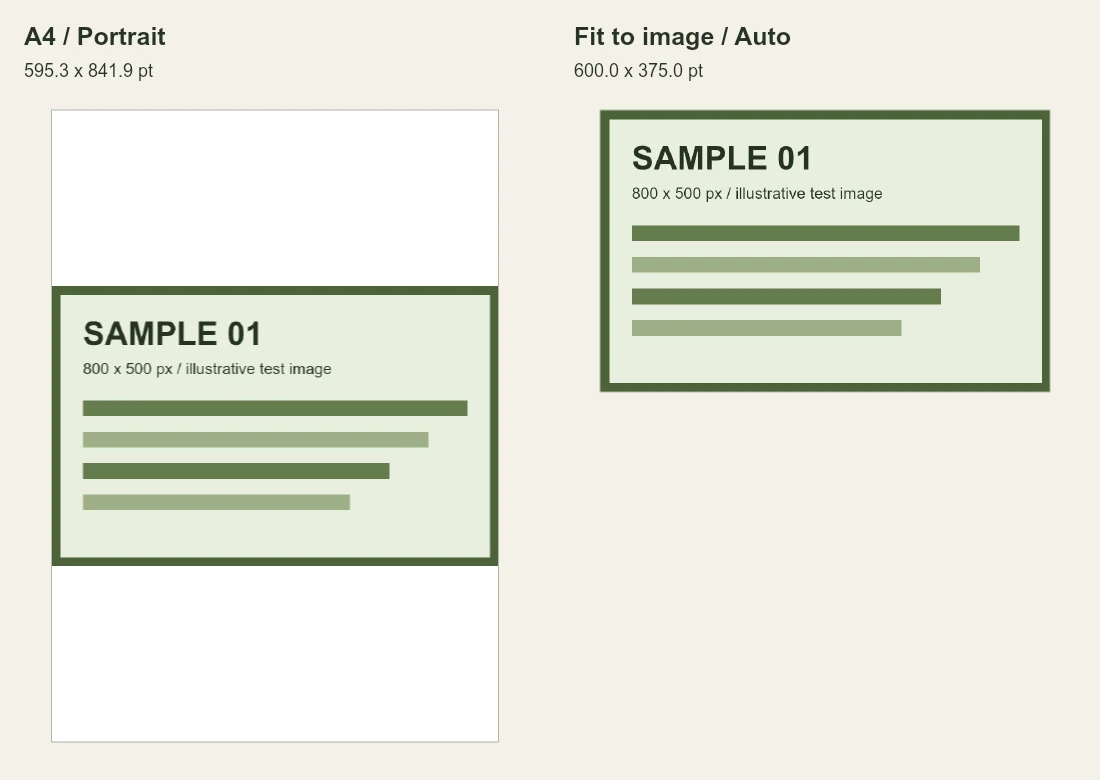
Fit to image derives page dimensions from pixel dimensions at 0.75 points per pixel. An 800 × 500 px image produces a 600 × 375 pt page in Auto orientation. A 1,600 × 1,000 px image produces a page twice as wide and tall, despite the same aspect ratio. Choose A4 or Letter for uniform paper sizes.
Are blank areas caused by margins or image proportions?
There are three margin settings: None is 0 pt, Small is 18 pt or about 6.35 mm, and Normal is 36 pt or about 12.7 mm per side. These values reserve space from the paper edge. Additional white areas can remain if the image’s proportions differ from the available space.
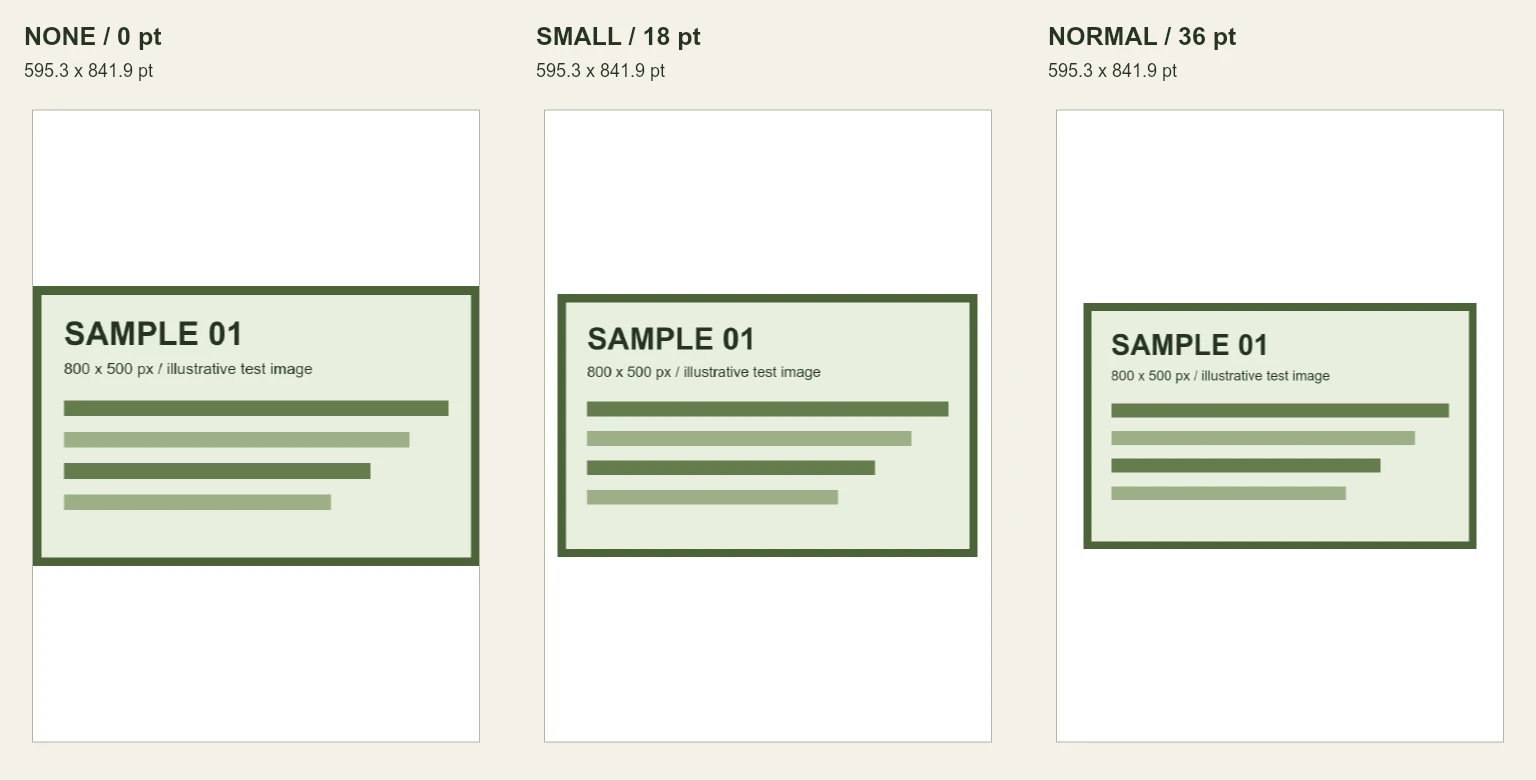
If the top and bottom blank areas are large but the left and right areas are narrow, try changing page orientation before reducing margins. White areas already inside the original image are retained; crop the source image before combining it if needed.
For printing, None does not make every printer capable of borderless output. Check print preview and scaling in your PDF reader. On very small Fit to image pages, margins are capped at one quarter of the page width or height.
Adjust quality when images look blurry or the file is too large
Image quality ranges from 40–100%, starting at 90%. It controls JPEG encoding, not a guaranteed percentage of sharpness. Choosing 100% cannot restore details missing from the original image.
- Image too small on the page: check page size, orientation and margins first.
- Blurry text or compression artifacts: increase quality and compare with the source. Retake or rescan if the source is blurry.
- PDF too large: lower quality gradually and check again. If necessary, reduce source image dimensions before combining.
Changing margins or switching from A4 to Letter does not reduce the pixel dimensions embedded in the PDF. For upload limits, see how to reduce PDF file size.
Combine images and check the PDF before sharing
- Prepare readable images, keep the originals and check the recipient’s paper size, orientation and maximum file size requirements.
- Select images in the tool and arrange them using the move buttons or dragging. Each image becomes one page.
- Rotate sideways or upside-down images. The rotation button applies to selected images.
- Choose page size, orientation, margins and quality. Try the defaults when there are no specific requirements.
- Select “Create and download PDF”, then open the downloaded file and check every page.
Before sending the downloaded PDF, check page count, order, image orientation, and completeness. Read the numbers, signatures, and tables, test any QR codes in the actual file, and check its size. For printing, also inspect print preview: the size shown on the website does not establish the size on paper.
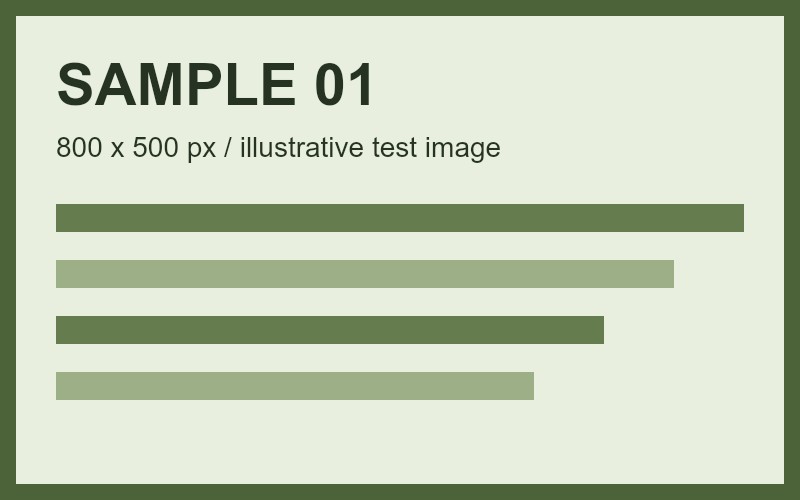
To reproduce the comparisons, use the 800 × 500 px sample image , created by KrobClick without personal data, and change one page size or margin setting at a time.
Supported files and limitations
- Accepts JPG, PNG, WebP and static SVG, up to 100 images, 20 MB per file and 150 MB total as labeled in the tool. The implementation counts 1 MB as 1,024 × 1,024 bytes.
- Each image is limited to 20 million pixels and 8,192 pixels per side. A small file in MB can still exceed these dimension limits.
- All images are drawn on white and encoded as JPEG before being embedded. Transparency becomes white, and SVG becomes a raster image without editable vector objects.
- SVG support is limited to static images; scripts, links and external resources are rejected, so some files cannot be imported.
- Image-based PDFs do not automatically contain searchable or selectable text. Use the original digital document or perform OCR and verify its accuracy when text is required.
Images are processed in the browser without uploading them to a server to create the PDF. Large image sets can consume substantial memory. If processing is slow or fails, reduce image dimensions or work in smaller batches. Download before closing or refreshing the page, which clears this tool’s image list.
Why image-based PDFs are not searchable and when to use OCR
Sources used for verification
Controls and implementation reviewed on 26 October 2026. Comparisons were generated with KrobClick’s PDF layout module using a synthetic test image and displayed at a consistent scale. They are not photographs of printed output. Captions link to the method and credits.