
Anatomy Skill: Interactive Explanations and Accuracy Checks
Does a written system explanation still leave readers unsure how parts work together? Anatomy is an agent skill for turning ideas into explorable objects or mechanisms. This article examines actual examples and how to evaluate visuals before using them to teach.
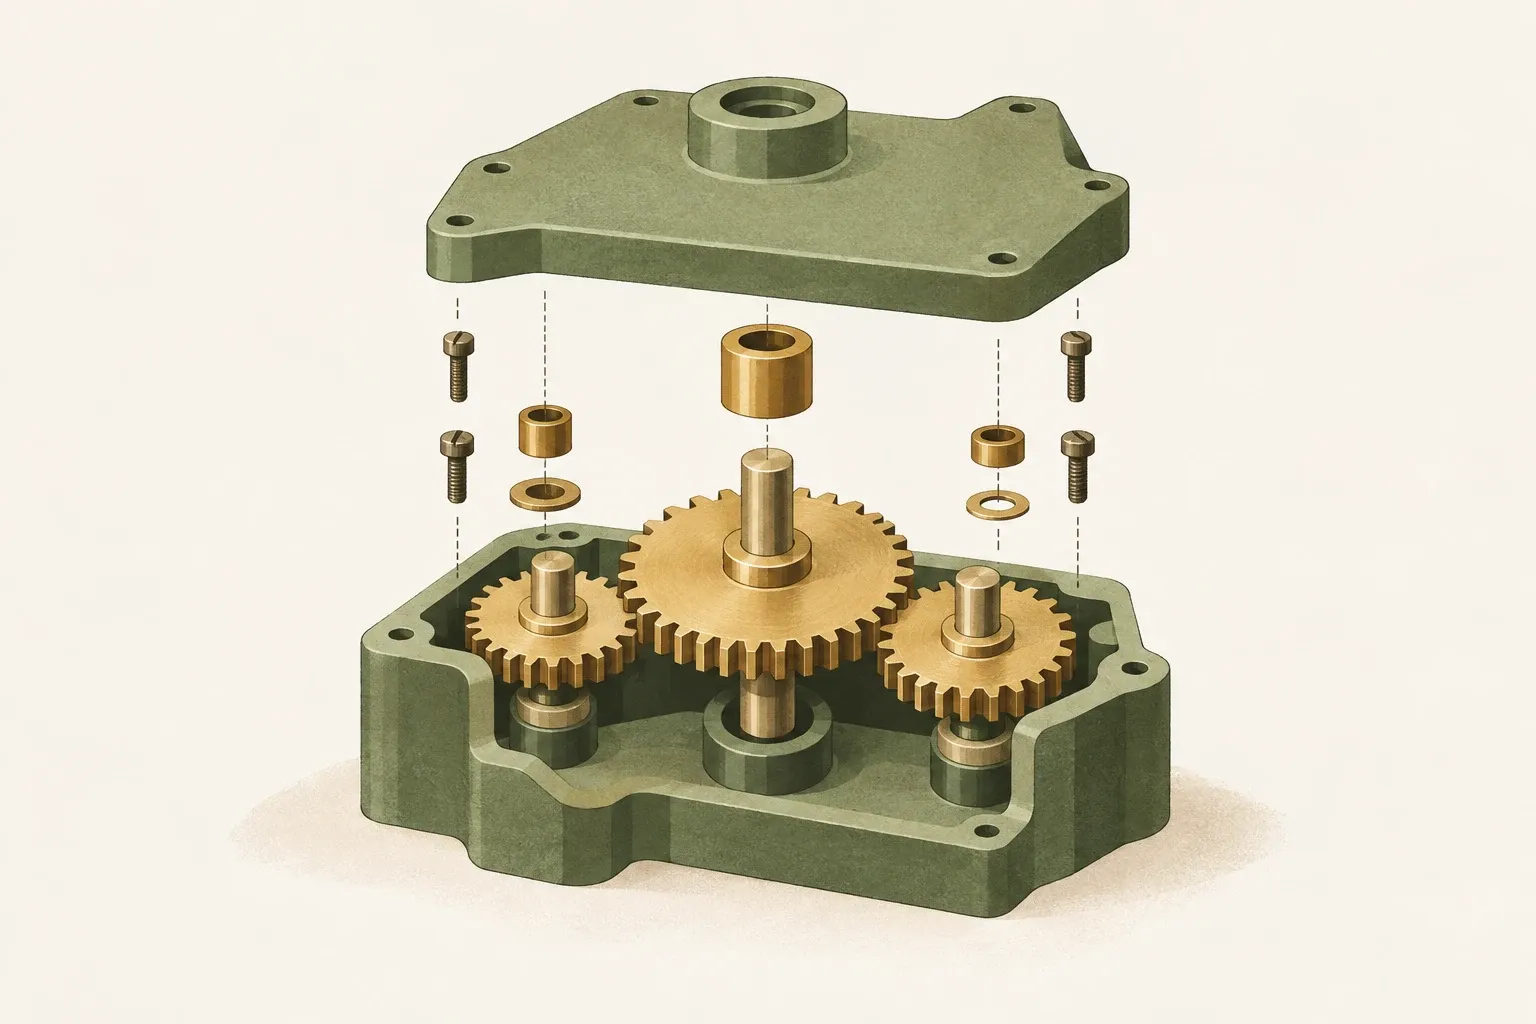
Anatomy is a set of instructions and tools for AI to create descriptive images.
Anatomy is an Agent Skill for creating isometric images with parts and interactions. Isometric imagery uses an oblique perspective that allows multiple sides of an object to be seen simultaneously. This project aims to turn invisible concepts into observable mechanisms. The result might be an HTML or SVG page with code to edit.
Skills provide instructions, while kits help with shapes, cameras, shadows, and composition. Agents use the instructions and kits to create visuals for the brief. The process is different from sending a message to the image model to create a finished file. The README specifies support for multiple agents through the Agent Skills format, but availability depends on the tool, version, and user environment.
Check whether viewers understand cause and effect: when a value changes, do the mechanism and displayed figures change consistently? Visual details should help answer this.
Read component relationships in the dial-indicator example
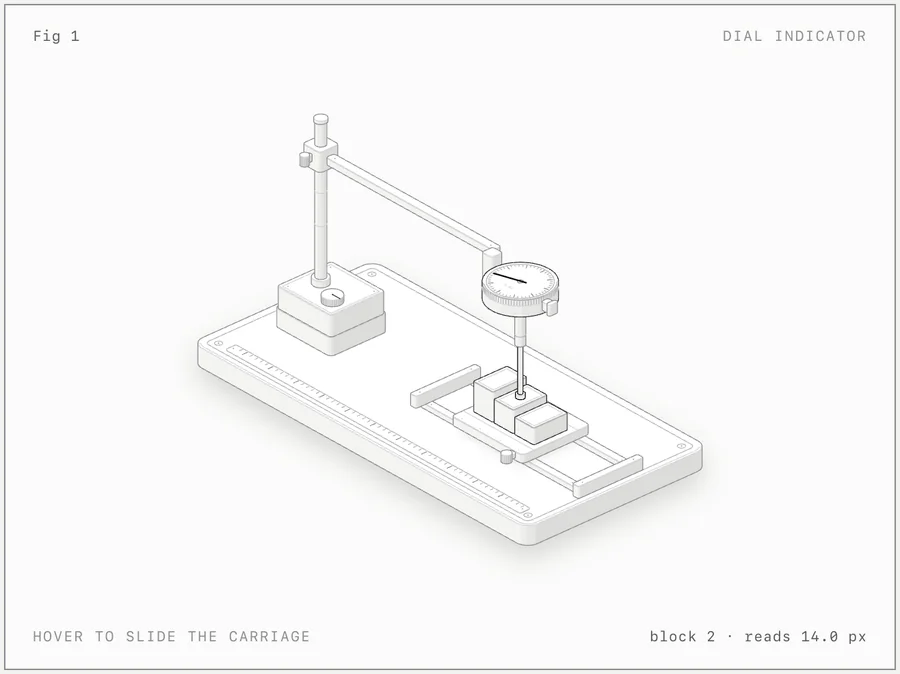
Read the image upward from its base: the block platform sits below the probe, the probe connects to the gauge, and the reading appears in the lower corner. The README explains that hovering moves the platform so the needle can read each block. Check the interactive relationship: “Position changes → probe reads a new block → needle and value change consistently.”
To check for yourself, open the original example folder. Read the README's instructions for opening or building the page, then use mouse and keyboard to check the initial state, end states, and reversal. A single screenshot cannot establish correct interaction in every state.
Choose a visual type based on what needs explaining
| Format in project | What it works with | Things to check |
|---|---|---|
| SVG | Vector shapes and parts | Layer order, connectors, and text when scaled down on mobile |
| SVG combined with WebGL | Shader-based elements, such as water or lighting | Rendering when WebGL isn't available and costs on real devices |
| 3D beta version | Parts that must rotate in three dimensions | Accuracy from every angle and performance; one example cannot validate every use. |
The README states that the project is not a data graph library with ready-to-use axes and datasets. For numerical comparisons, a simple table or graph may explain the information more directly. Anatomy's strength lies in machines, tools, and concepts that can be interpreted mechanically.
The project offers a Node.js kit and React support for component outputs. Distinguish creating visuals from placing them on a website. Interactive HTML is not a static SVG, and WebGL may add burdens ordinary media does not have.
Start with the question viewers should be able to answer after seeing the image
KrobClick suggests defining one main relationship first, such as “How does the backlog grow when work arrives faster than the system can process it?” Supply the necessary real data, units, scope, and modeling assumptions. If data is unverified, do not ask AI to invent realistic-looking values.
Hypothetical brief for an assistant with Anatomy: “Explain a queue using a mechanism showing arrivals and departures. Label it educational, use my values with clear units, allow arrival-rate adjustment, and export HTML with textual explanations and boundary-state checks.” This is a proposed exercise, not an actual output generated with the Skill.
Before installing, read the upstream installation instructions and requirements. Inspect instructions, added files, and required tools. The Skill includes image generation and validation scripts; assess permissions as you would imported code. Global and project-specific installation have different scopes.
Check the shape and factual accuracy before teaching with the illustration
The project includes audit and capture tools for checking shapes, layering, and visible details such as tubes intersecting other parts. The person responsible for the content must also check the model’s physical accuracy and whether it matches the concept being taught.
- Meaning: What does each part represent, where does the analogy fail, and could readers overinterpret it?
- Values and behavior: Do numbers, units, and movement of parts follow the same rules? Check minimum, maximum and reversal values.
- Access: Can it be used by keyboard? Are labels readable on mobile? Is substantive explanatory text available when images or interactions are inaccessible?
- Web page suitability: Test on the target device, including reduced motion and unavailable effects. The main explanation should remain understandable.
- Permissions: Keep the kit's license and separately check references you add. The project's MIT license does not automatically grant rights to images or designs sourced elsewhere.
Before starting a large visual, make a small prototype around one concept. Ask someone unfamiliar with the subject to explain what they see. If they cannot explain the main relationship, revise the model or explanation before adding visual detail.
Project and original images
Repository checked October 18, 2026, pinned to commit e9488296. This article explains developer documentation and demonstrations; Anatomy was not installed or used to generate images. The cover is KrobClick's conceptual illustration, not Anatomy output.